

Guide
Interiors
February 21, 2026 / Written by : Nate Ogunbiyi
New Year, New Space... kinda
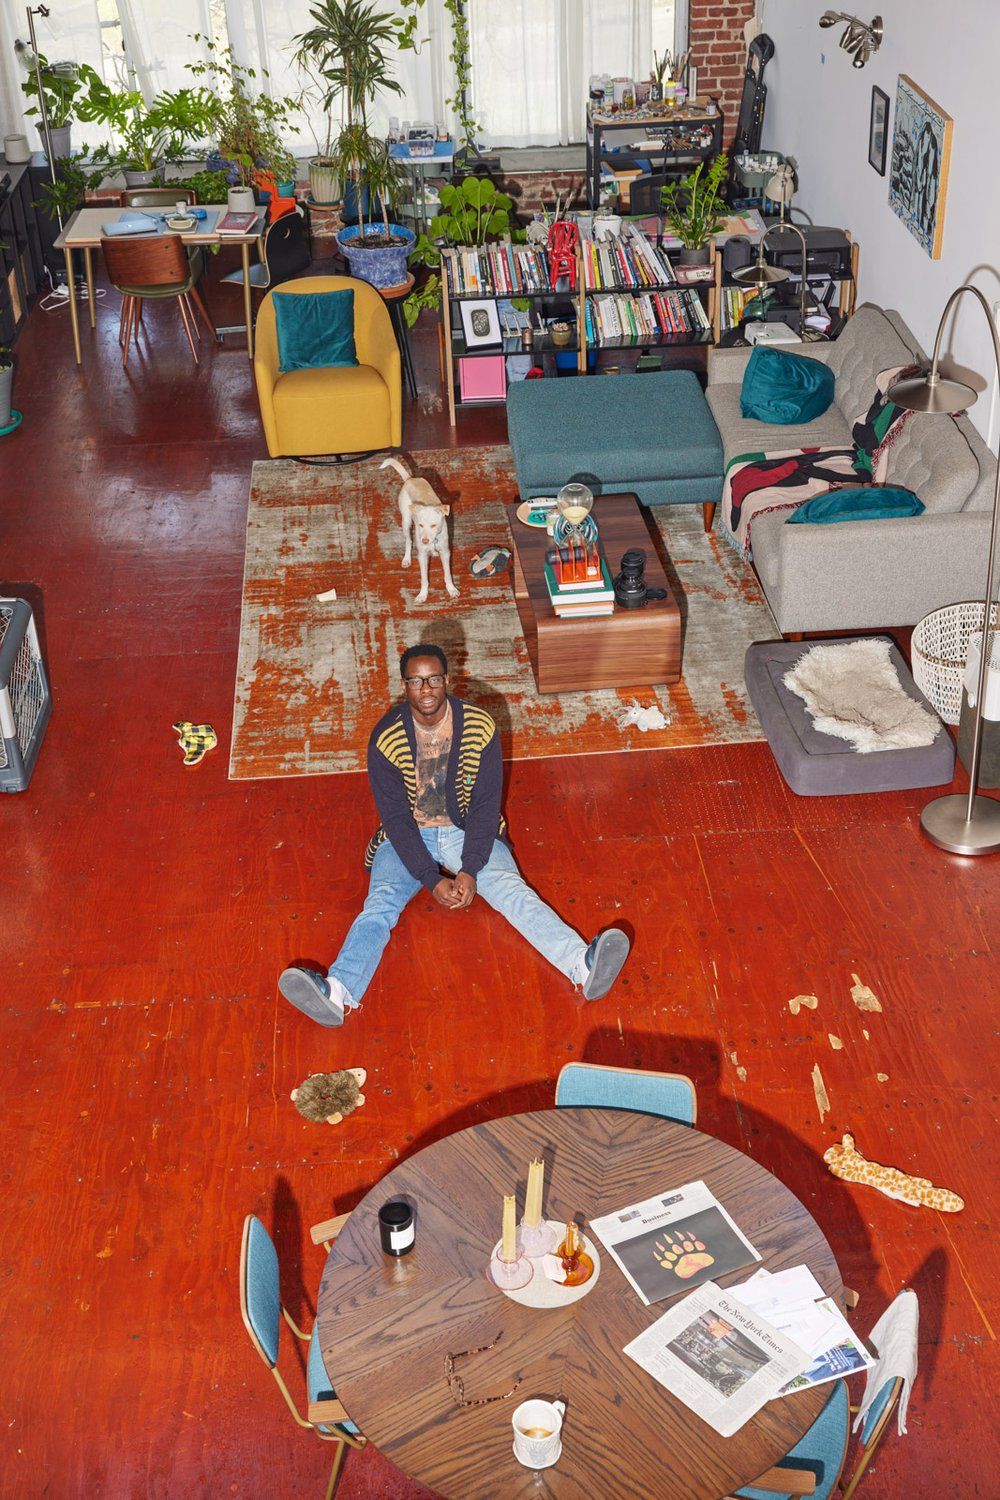
Entering the new year never really translates into developing a completely new personality however, this could be the perfect time to review the spaces that you spend most of your time in.
This is not suggesting that you entirely change the vibe of your room/ apartment, but more of a nudge to get you to attend to the spaces that we live in. After all, we are products of our environment to an extent
Let's walk through the process of revamping our interiors, from basic changes to dramatic overhauls. Ideally, you can complete a project like this within a few phases. Now, if you’re an indecisive person, some of the early steps can take longer but your funds will thank you. The end product should be a cozy space that unconsciously heals you, but that can vary based on your desired ambience.
Let's walk through the process of revamping our interiors, from basic changes to dramatic overhauls. Ideally, you can complete a project like this within a few phases. Now, if you’re an indecisive person, some of the early steps can take longer but your funds will thank you. The end product should be a cozy space that unconsciously heals you, but that can vary based on your desired ambience.
Existing Conditions
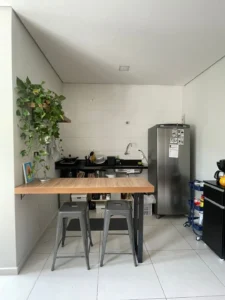
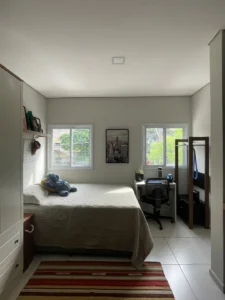
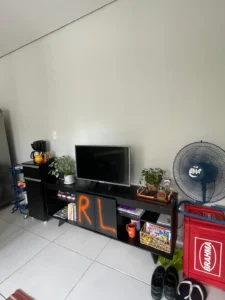
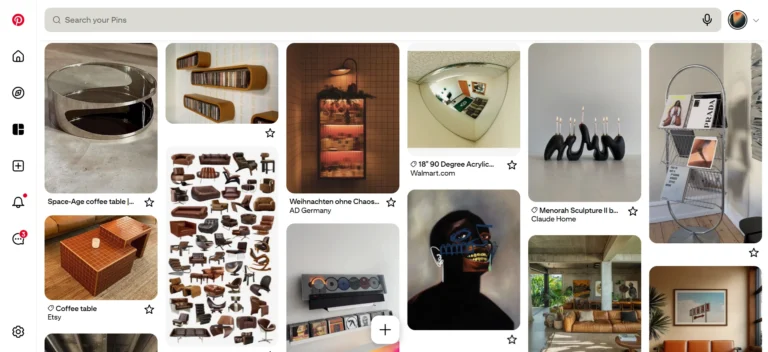
Must set a baseline of where we are starting from, context is key for establishing what needs to be addressed. Definitely start with photographing what the space looks like already, as this will make it easier to identify the problems that you’ll need to find solutions for. These should be boring, non-biased photos. So ignore that perfect angle that catches golden hour sun for your impromptu grwm videos, we’ll be taking the closest thing we can get to flat 2D images that cover the total space. Try parallel wall-to-wall photos along with wide corner shots.
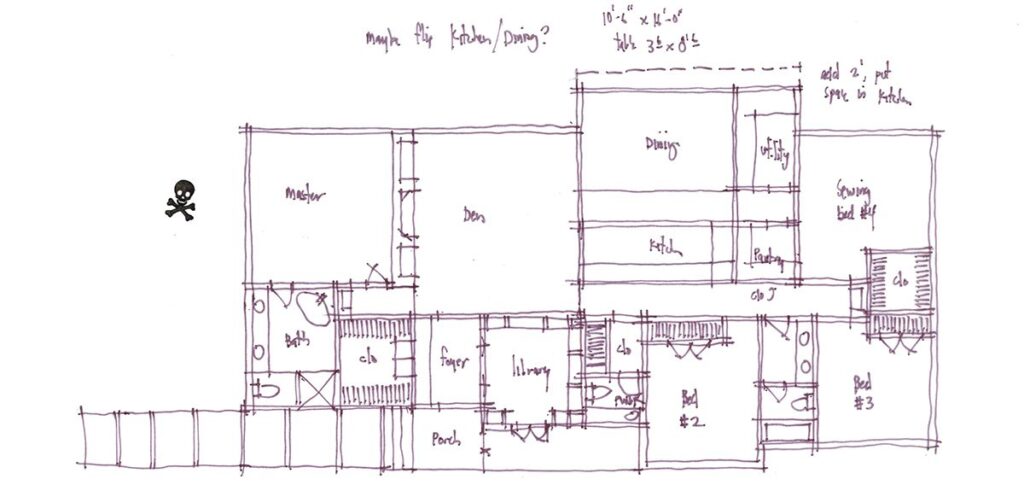
After these photos, we’ll have to measure the room with a tape measure and sketch out the results.
Direction and Inspo
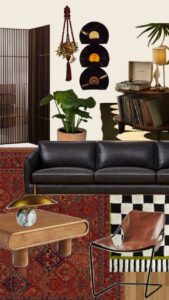
Now that we have a foundation for the project, we can list out the issues we found; clutter in one location, lack of space to move around, too much sunlight, not enough sunlight, clashing colors, old furniture from an ex. Whatever the problem is, write it down or circle it because acknowledgment is the first step to solutions. Divide the issues into two categories: function and design. All of the Instagram and Pinterest posts that you've been saving finally have some use. Personally, I save tons of eclectic vibes that don’t particularly mesh together. If you have the same case, filter anything that actually applies as a solution to the functions and designs that we have already categorized. Anything else is music that can fade into the background
Floorplan
Referring to the measurements we took in the first step, it's time to put together our visual foundation for improvements. Starting off by sketching these dimensions is ideal, in case something has been mismeasured and needs to be changed. Once every length is accurately drawn, we can add the solutions from our moodboard to see how everything blends and what clashes. Things may not fit as we imagined in the beginning, so it's okay to duplicate the floor plan or create multiple layouts. When things start to narrow down, try visualizing in more ways. Consider making a collage within the spaces of the floorplan layout, try photoshopping the old photos to swap out the old furniture with the new ideas. Get creative to bring the space alive
Long Leads
Approaching the final stages means we have to commit to the pieces that we handpicked. Get the names of the objects in your final floorplan and create an itemized list. Research sellers, cost, availability, and upkeep. Professional planners usually order those that take the most time to produce/ arrive first, likely due to international shipping since time is the priority. Whatever the priority is for you attend to that first, it’s your “lead item”.
Last step, simply live in the space. Find what makes you uncomfortable and start to tweak it, everyone’s taste evolves over time. Minor changes over time can be normal so feel no need to commit.
Last step, simply live in the space. Find what makes you uncomfortable and start to tweak it, everyone’s taste evolves over time. Minor changes over time can be normal so feel no need to commit.
READ MORE
OTHER RELATED POSTS

DESIGNING FOR LEGACY: BLACK FASHION, SUSTAINABILITY...

AUTHENTICITY AND INTERNAL VOICE

RECENT CONSUMPTIONS OF FALL to WINTER 2025
READ MORE
OTHER RELATED POSTS
DESIGNING FOR LEGACY: BLACK FASHION, SUSTAINABILITY...